
Sounds too good to be true right? Those black ugly lines from a marker seem to never go away, no matter how much you keep cutting in on them. And then those special pens that are supposed to disappear on their own?! Don't get me started. They are better than a marker, because you can at least get them off with water. But disappearing by air hasn't happened for me!
But, I have found a method that saves you time and leaves you with perfectly cut felt pieces with NO tracing marks.
Quiet Book Queen & Crafts in Between, LLC is a participant in the Amazon Services LLC Associates Program, an affiliate advertising program designed to provide a means for sites to earn advertising fees by advertising and linking to amazon.com. This is at no extra cost to you.The Secret Is....
Well there are actually TWO ways of doing it. If you're in one of my swap groups (quiet book, felt food, Advent Calendar, etc.) you will want to use freezer paper since you will be cutting many copies of one piece.
This way you can trace multiple pieces and cut them out with ease.

If you are using one of my templates to make everything yourself, you can print directly on to this quilting paper and save yourself a step! It is great for Quiet Book templates and the Advent Calendar.
This method doesn't require tracing at all!

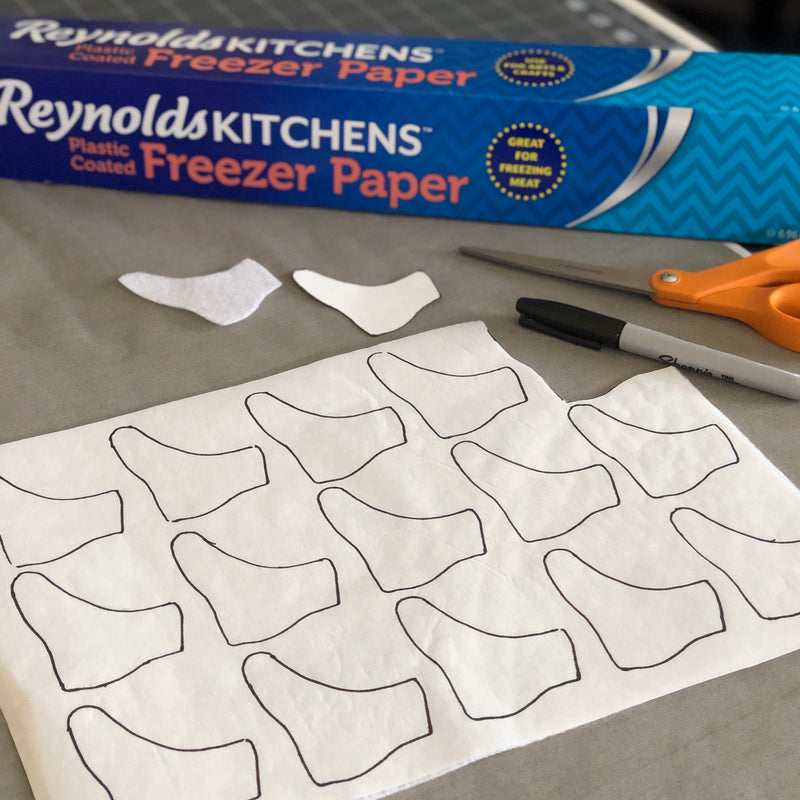
How to Use the Freezer Paper
- Simply cut a piece of the freezer paper to cover your felt.

2. Iron the freezer paper (shiny side down) to the felt. I used medium heat and no steam for about 5 seconds over each area. Go over it again if it isn't completely adhered.

3. Trace your template piece as many times as needed on the freezer paper.
4. Cut around your tracing lines and peel!

You can even iron the cut out piece of freezer paper on to your felt again! This works great if you need just a few more.
Watch my YouTube video here showing you all of these steps!
How to Use the Printable Quilting Paper
- Put the printable quilting paper in your printer so that the template will be printed on the matte/dull side (shiny side will go on the felt).
- Cut roughly around a template piece.

3. Iron it on to your felt (medium heat, no steam, 5-10 seconds). Repeat if it is not stuck well yet. It is possible to burn felt, so be aware. I always like to use a teflon sheet over the piece I'm ironing. It protects it, plus helps conduct the heat.

4. Cut around the template piece.

5. Peel it off! You can even re-iron It on to the felt if you need a second piece!

Watch my YouTube video here to see all of the steps in action.
Whichever way you choose, you will be saving yourself loads of time and frustration!
If you'd like to be in the know on upcoming swaps, sewing templates, and other screen-free activities for little ones, please join the newsletter.

0 comments