
Notepads make a great personalized gift and are very inexpensive to make. Think of the teachers or co-workers in your life! I was a teacher before I had kids, and I loved a good notepad for my to do lists or positive notes home. (Yes, there is technology for this now but I still prefer good ol' pen and paper).
This is my go to Christmas gift or Teacher Appreciation gift. Attach some nice pens (this brand is a teacher's FAVORITE - trust me, I taught for 6 years before kids) or a gift card, and it's thoughtful and usable!

You can also take the same idea and make a receipt pad or order form pad for children's pretend play! I have a receipt printable in my Farmer's Market Learning Activity Bundle.

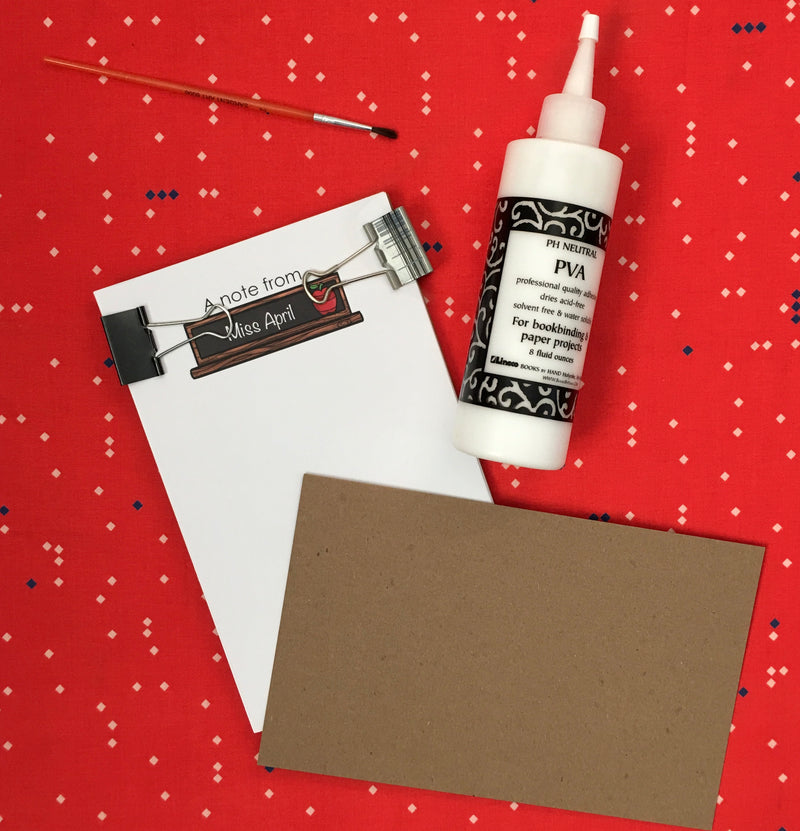
Supplies You'll Need
- Medium weight chipboard - buy a pack on Amazon and you'll have it available every year. I get 8.5" x 11" and cut them in half vertically for the receipt pad or horizontally for a notepad.
- Paper - designed for your notepad needs. I always have 2 per page and cut the paper in half. 50 sheets is a good amount for one notepad (so 25 full pages)
- Book binding glue
- Paint brush
- Binder clips
Quiet Book Queen & Crafts in Between, LLC is a participant in the Amazon Services LLC Associates Program, an affiliate advertising program designed to provide a means for sites to earn advertising fees by advertising and linking to amazon.com. This is at no extra cost to you.
How to Make It
- Design your notepad. Canva is an awesome free website for designing (it has clipart too) and then you can download it to your computer. Before I knew about that, I created mine in Microsoft Word. The teacher notepads work well when the layout is horizontal and you can get two per page (5.5" x 8.5"). The receipt notepads are created in a vertical layout, again 2 per page.
- Print them at a copy center or at home. Fifty sheets is a good amount per pad, so you would need 25 copies and cut them in half.
- Cut the chipboard to match the size of the papers.
- Stack everything neatly so it all lines up and put a binder clip at the very top of each side.
- Squeeze a little of the book binding glue on a paper plate. Dip your paintbrush in it and completely cover the top section where the pages and chipboard come together. It's ok if it gets on the front of the first page. It dries clear, but you can always rip it off it later if it looks too messy.
- Keep the binder clips on and let it dry overnight.
- Apply a second coat the next day. Make sure it is covered well!
- Let it dry again overnight.
- Take off the binder clips and you now have a notepad where you can rip off a page at a time!

Sign up for my newsletter if you're interested in screen-free activities for children! I organize Quiet Book swaps to help you make your own in an easier, more cost-effective way. But if you don't sew, I also share several other fun activities to keep little ones entertained. Follow me on Instagram or Facebook too!
0 comments